Start your first conversation
Last updated:
Prerequisites: initialization is complete, the management UI is accessible, and you have model provider credentials. This path creates a custom agent and does not require an external CLI.
1. Set up a model connection
Open model management and configure the three items below. The form layout may vary by client, but the information is the same.
| Setting | What to prepare | Purpose |
|---|---|---|
| Provider | The service’s protocol, API endpoint, and API key | Where AGW sends requests and how it authenticates |
| Model | The exact model ID, context window, and maximum output length | Which model to use and its content limits |
| Model Provider | A link between the model and provider | The working connection an agent selects |
Use the model ID supplied by the service. Model discovery may suggest 256,000 / 64,000 for context and output limits; replace these defaults with the model’s actual specifications. See Model providers for field details.
2. Create a simple agent
In Agents, click Create. Keep the default Agent Type System (a custom agent), enter “Question helper” as the Display Name, choose your connection in Model Provider, and enter these Instructions:
Click Create to save, then confirm that the Enabled switch is on in the Agents list. New agents are enabled by default. Start with text chat; add tools, Skills, and workflows after the connection works.
3. Send your first message
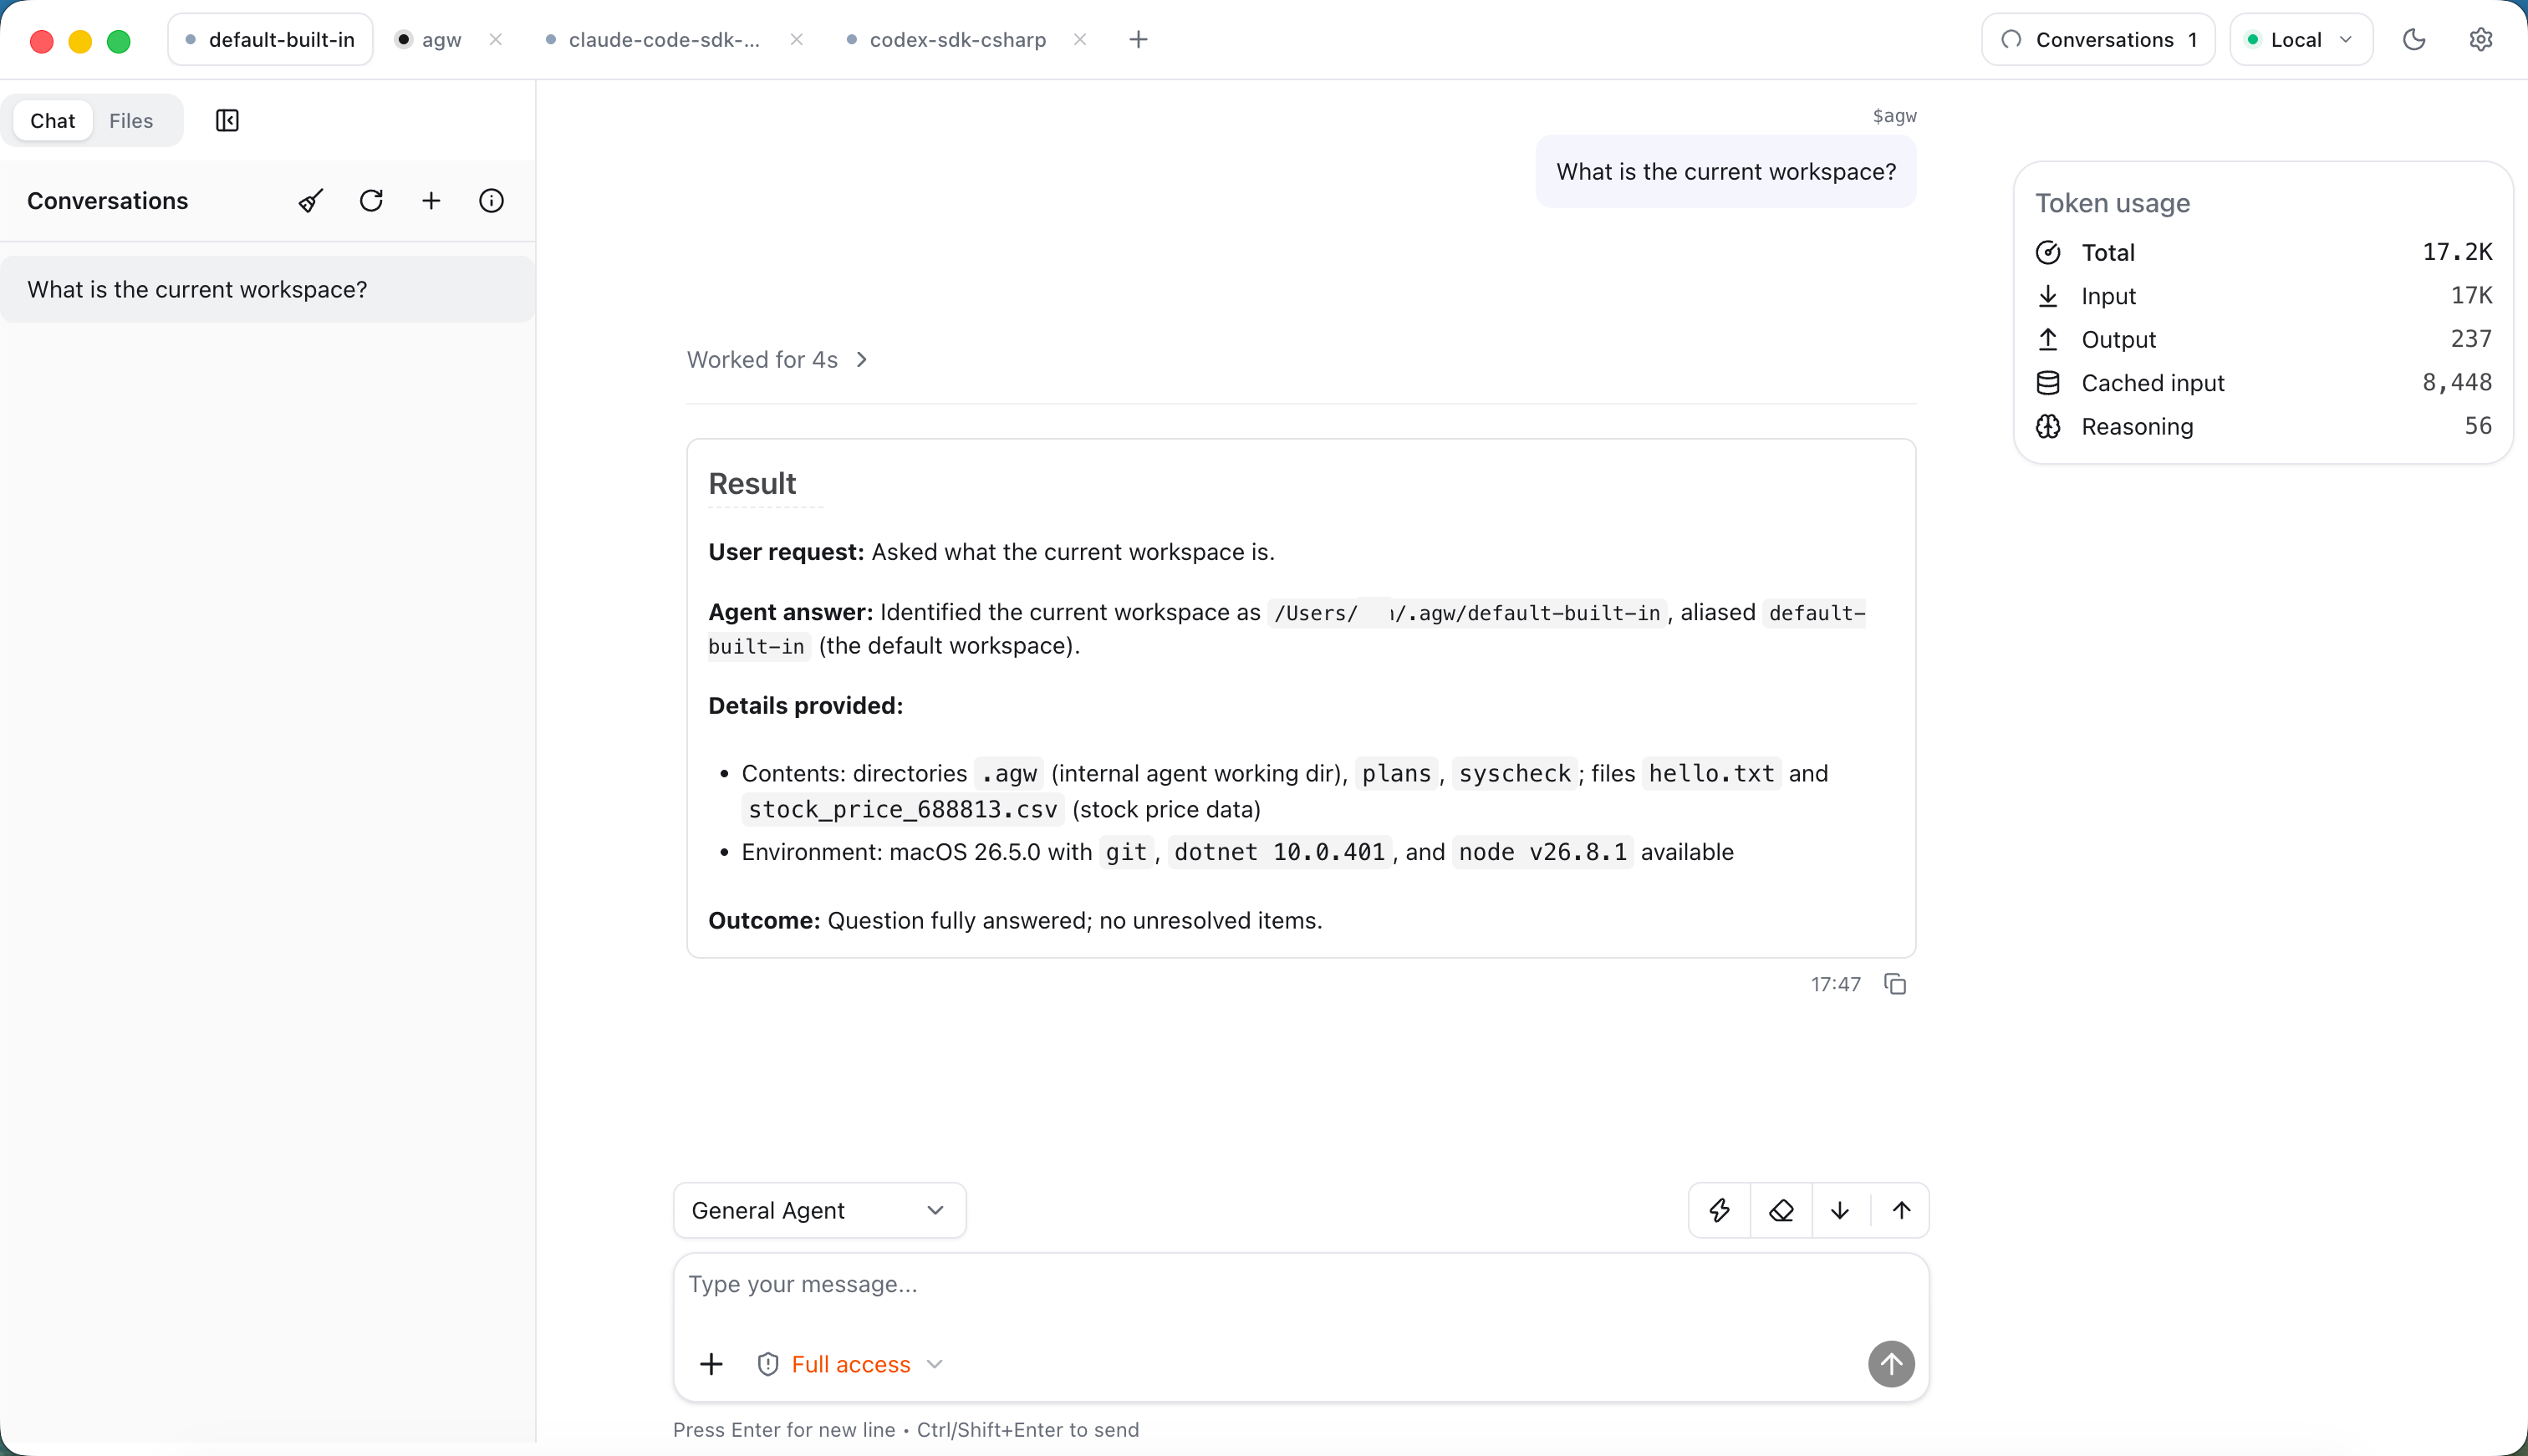
Open Chat, confirm the Server, and choose an available Project: in Desktop, use the project tabs at the top of the window; in Web, use the dropdown at the top of the left sidebar. Then choose “Question helper” in the selector at the top-left of the message box and send:
The reply should appear progressively and the execution should finish. Follow up with “Make that explanation simpler” to check that the agent can continue the discussion. This verifies both the model connection and a continuing conversation.
Next steps
Verify plain text chat before adding tools and Skills. File-based work needs a Project workspace. An existing Codex or Claude Code installation can use an external agent.
No response
Check the selected Model Provider, model ID, credentials, and endpoint, then inspect Server logs. The icon beside each conversation in the list shows its status: Running means it is still running, Last turn failed means the previous turn failed, and Last turn interrupted means the previous turn was interrupted. A conversation may also be waiting for approval or user input; handle that state in Chat. Avoid adding many tools or complex workflows before the model connection works.